Electrical Enclosure Door Seals: Gap, Corners and OEM Validation
- Share
- publisher
- RESRUB
- Issue Time
- Oct 12,2026
Summary
An OEM guide to electrical enclosure door seals: measure the installed gap, choose a suitable profile and compound, control corner joints, and validate the complete cabinet.
INDUSTRY APPLICATIONS · RESRUB · OCTOBER 12, 2026
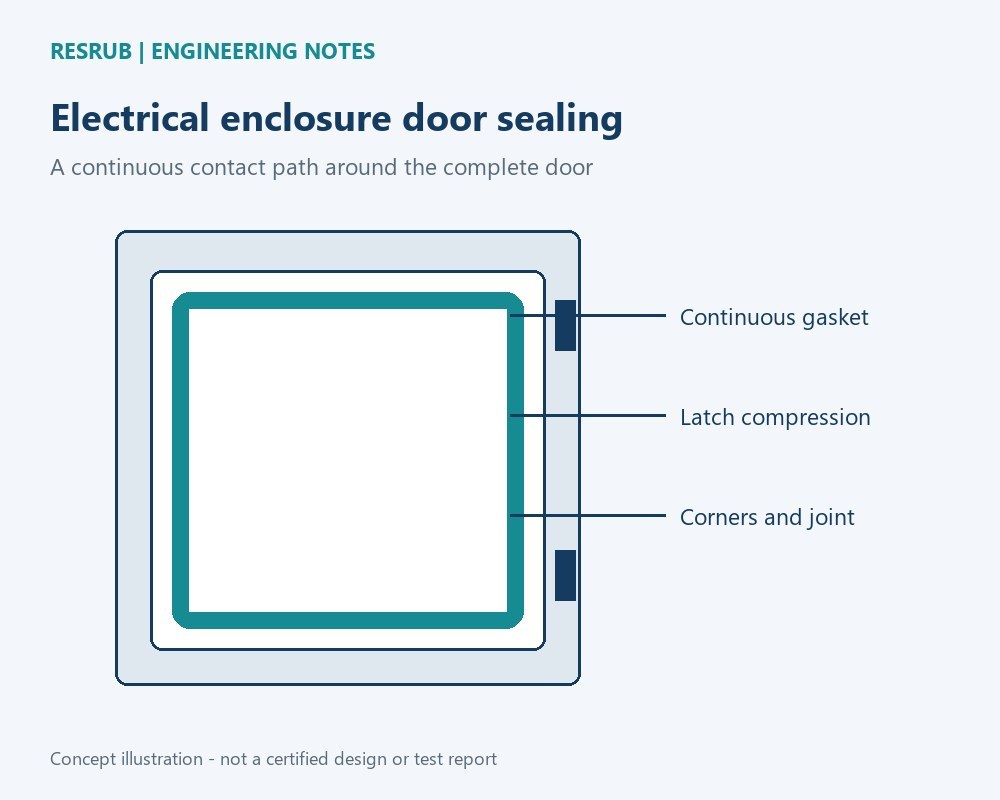
An outdoor control cabinet, a charging enclosure and an indoor automation panel can use similar-looking rubber profiles while needing different sealing designs. Water or dust may enter at an uneven door edge, a corner joint or a cable opening even when the gasket material is suitable. This guide helps OEM buyers turn a general request for a “waterproof cabinet seal” into dimensions and checks that a supplier can work with.
1. Define what the cabinet must keep out
Start with the enclosure’s environment rather than a material name. An indoor electrical panel may mainly need dust exclusion, while an outdoor cabinet also faces rain, sunlight and temperature cycling. A cabinet near cleaning operations may encounter splashes or cleaning chemicals. Record how often the door opens and whether the frame is painted metal, stainless steel or plastic.
- List the expected dust, water and fluid exposure, including any oil or cleaning agent that can reach the gasket.
- Specify the required enclosure protection target and the applicable test conditions.
- Check cable entries, vents, hinges and other openings alongside the door perimeter.
A door gasket addresses one leakage path. It does not make an enclosure airtight, solve condensation inside the cabinet or replace the seals around cable glands. The IEC explanation of IP ratings describes protection provided by an enclosure; refer to IEC 60529 for the actual test requirements.
2. Measure the closed-door gap before choosing a profile
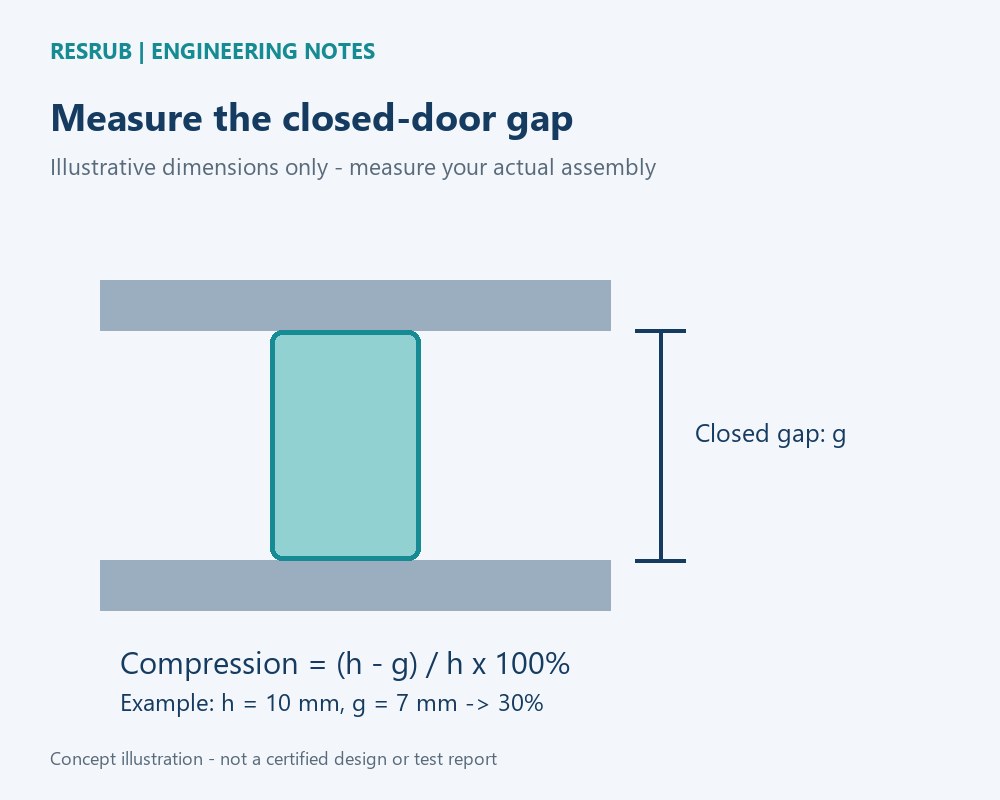
Measure the gap along the sealing land with the door latched in its normal position. Include the hinge side, latch side, top, bottom and corners. Record the minimum and maximum gap across representative assemblies; a single measurement can hide door bowing or tolerance variation. Use those values to discuss a profile that maintains contact without excessive closing force.
For illustration, a 10 mm free height compressed into a 7 mm gap gives 30%. This is a calculation example, not a universal design target.
The allowable compression depends on the exact compound, profile geometry and supplier data. A hollow bulb, a solid section and a foam strip respond differently even at the same nominal height. Too little compression can leave contact gaps; too much can raise latch load, distort the door or accelerate permanent deformation. Review compression at both gap extremes, not only at the nominal dimension.
Request the profile drawing with the free height, mounting width, wall thickness where relevant, and dimensional tolerances. Shore hardness alone cannot describe the force needed to compress a hollow or foam seal.
3. Match material and profile to the actual exposure
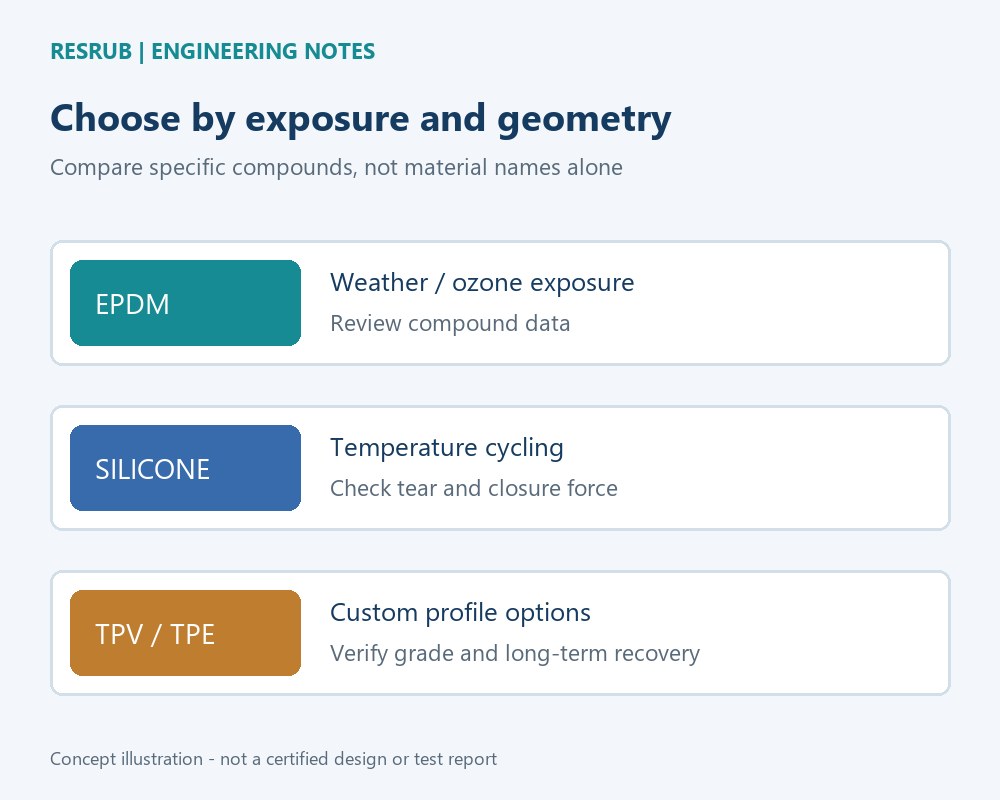
EPDM, silicone and TPV or TPE profiles can each be candidates for enclosure applications. Make the choice from the specific grade’s data and the assembled design. Generic temperature ranges or the word “weatherproof” are not substitutes for qualification of the proposed compound.
- EPDM: a candidate where weathering and ozone resistance matter. Do not assume suitability for petroleum oils or every cleaning chemical.
- Silicone: consider it where temperature cycling and flexibility are important; review tear resistance, surface friction and the selected compound’s recovery.
- TPV / TPE: options for custom extrusion geometry; compare grade-specific aging, dimensional stability and sustained compression performance.
Choose the mounting method at the same time: a groove-retained profile, an edge-mounted section and an adhesive-backed strip require different interfaces. A solid section may need more closing force than an appropriately designed hollow profile. Any foam option needs a defined structure and verified response to the application.
Review RESRUB material and process capabilities and the silicone seal for electrical cabinet enclosures as starting points for a technical inquiry, rather than proof that a particular assembly has an IP rating.
4. Treat corners and the splice as part of the seal design
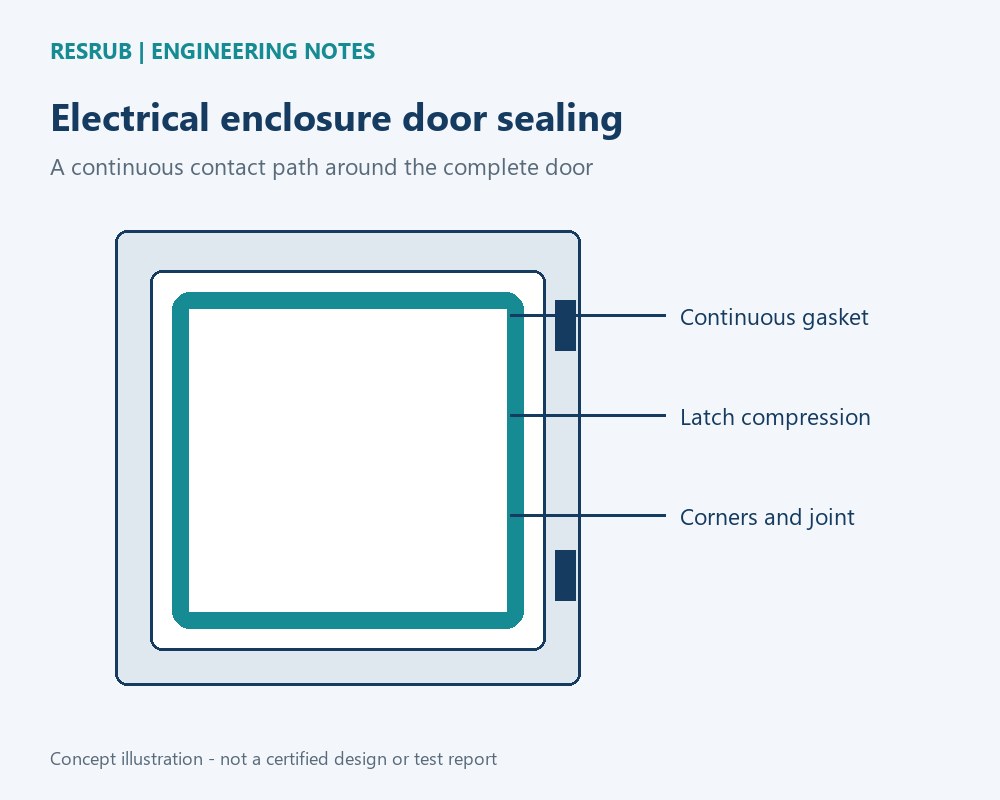
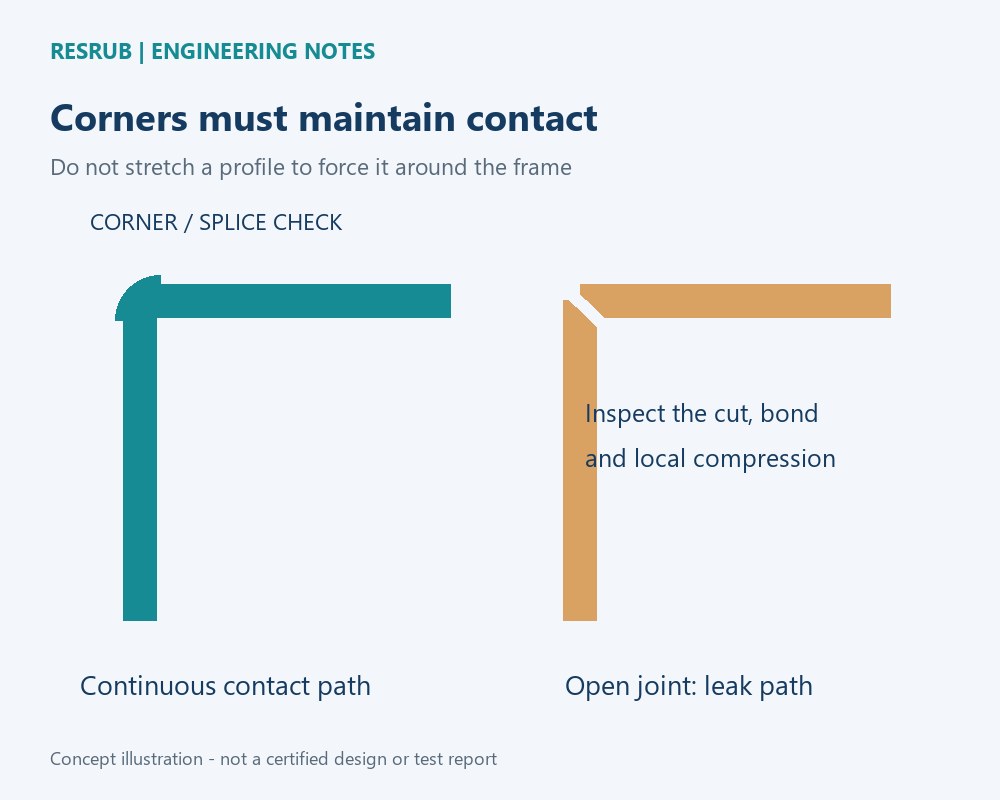
A straight section can look correct while a corner loses contact. Sharp bends can fold or flatten a bulb, and stretching the seal during installation can create a gap after it relaxes. Confirm the corner radius, the frame path and the joint position before ordering cut lengths.
- Fit the seal without stretching it to compensate for an undersized length.
- Review butt joints, bonded joints or formed corners against the intended service environment.
- Keep the contact face continuous across the joint and verify that the joining method suits the compound.
- Check surface preparation and adhesive compatibility when a bonded mounting method is used.
Do not try to correct a misaligned door by adding a thicker gasket. First check hinge alignment, latch adjustment and frame flatness. Mark the location of any ingress observed during testing; a repeating corner leak often points to a local geometry or joint issue rather than a need to change the entire material specification.
5. Validate the seal on the complete enclosure
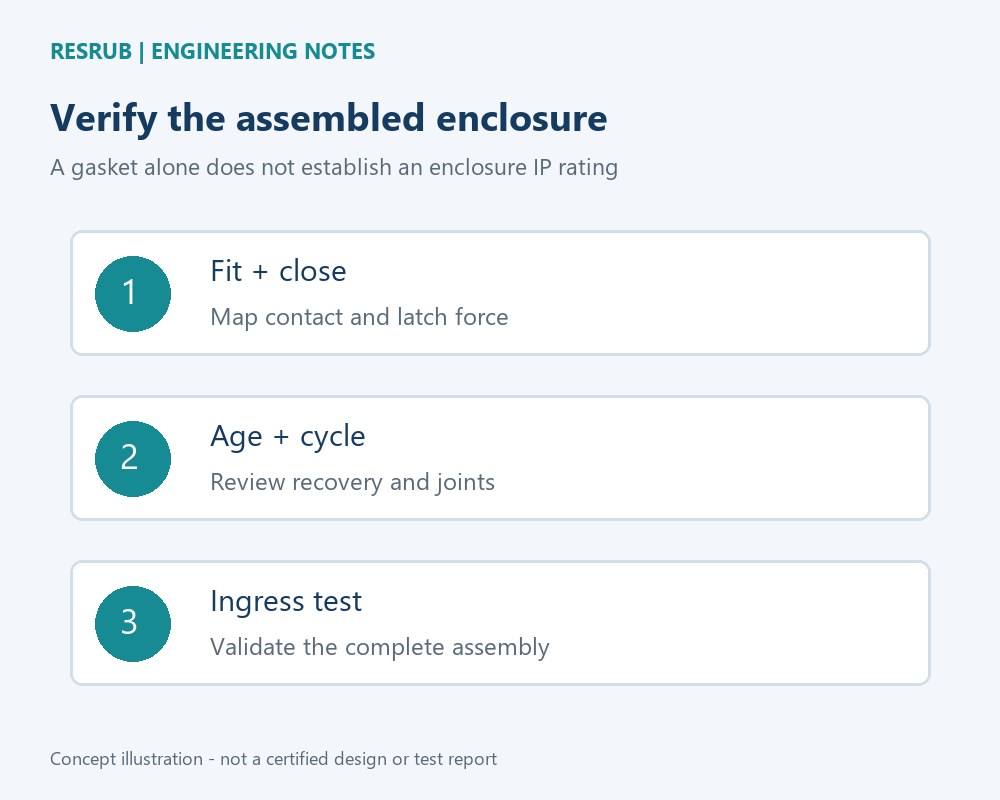
Begin with fit and closing-force checks on the prototype. Confirm continuous contact around the perimeter and stable retention after repeated door opening. A paper-strip check can help locate obvious variations in contact during development, but it is not an IP test or a quantitative measurement of sealing pressure.
- Initial fit: check contact, latch load, seal retention and clearance at the tightest and widest gaps.
- Conditioning: use the agreed aging, temperature-cycle and door-cycle conditions; inspect recovery and joints afterward.
- Ingress verification: test the assembled enclosure to its specified conditions, including cable entries and other openings.
Document the actual profile, compound, joint method, door hardware and test conditions. If the gasket remains flattened after opening, discuss compression-set performance and the installed compression with the supplier. If a door becomes difficult to latch, review the profile geometry and gap before increasing material hardness.
6. Send an OEM brief that makes sampling useful
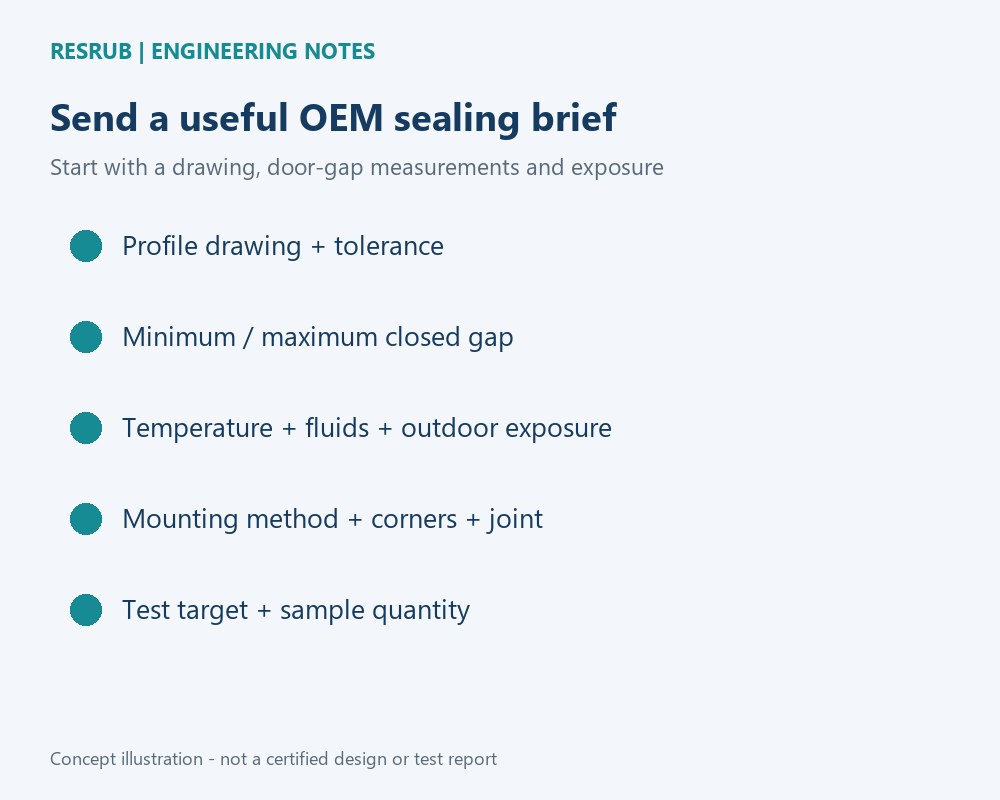
A useful inquiry lets the supplier evaluate the interface instead of guessing from a photograph. Provide a section drawing or dimensioned sketch, the closed-gap range, sealing-land width, corner details and the chosen mounting method. Include expected temperatures, chemicals, outdoor exposure, opening cycles and the planned enclosure test target.
- Specify critical tolerances and the required supplied form: continuous lengths, cut sections or a joined frame to be discussed.
- State prototype quantity, estimated repeat demand and any color requirement.
- Request compound data, agreed inspection criteria and a sample-validation plan before production approval.
RESRUB, the overseas brand of Dongguan Xingfeiyu Rubber And Plastic Products Co., Ltd., supplies custom hoses, sealing strips and extruded profiles. Its development support includes free design assistance, custom colors, low-volume sampling with a stated MOQ of one piece, and rapid tooling capability advertised as two hours for suitable projects. Confirm tooling feasibility and delivery for the actual profile.
Use the custom rubber solution service to share your drawing and application conditions. Small-batch support is most valuable when the sample is evaluated in the real door assembly before the specification is released.
Quick troubleshooting: start with the observed failure
| Observation | Check first | Useful next step |
|---|---|---|
| Leak at one corner | Bend radius, joint and local contact | Inspect the joint and compare local gap |
| Door is hard to latch | Excess compression, alignment or profile force | Measure the latched gap and review geometry |
| Seal stays flattened | Compound recovery and sustained compression | Compare conditioned sample data |
| Water enters despite door contact | Cable glands, vents and other openings | Locate ingress on the assembled cabinet |
Frequently asked questions
Can I replace an enclosure gasket with any strip of the same width?
Matching width is not enough. Check free height, cross-section, retention, compound and closing force. Verify the replacement in the actual enclosure, particularly where a protection rating must be maintained.
Is silicone always better than EPDM for outdoor cabinets?
No. Selection depends on exposure, profile behavior and compound data. Compare temperature needs, tear behavior, recovery and fluid compatibility rather than treating one material as universally superior.
What compression percentage should I specify?
Use the selected profile supplier’s recommended range and validate it across the measured door-gap tolerances. The 30% calculation in this guide illustrates the formula only.
Does a sealing strip guarantee an IP rating?
No. IP ratings describe enclosure protection. Door joints, hardware, cable entries and the complete assembly must satisfy the applicable verification conditions.
Technical reference: IEC — Ingress Protection (IP) ratings. This article provides application planning guidance; dimensions, materials and verification requirements must be agreed for each project.